Design 3D printing? Learn about best practices and tips and tricks for achieving great results.

If you want to design your design on a 3D printer like Creality3D, keep in mind some design principles. Due to the nature of additive manufacturing, 3D printing design requirements are completely different from other 3D animation designs. Things that look good on the screen can be very difficult to make 3D printing, which can hinder the actual operation of the 3D printer.
We will introduce three tips for 3D printing design. With these simple rules, you will be able to create masterpiece designs that are easy to 3D print.
Avoid angles that need support
What support?
The support is an extra material that acts as a “scaffolding” that supports parts of the design that are angled over 45 degrees. These supports prevent the filament from sagging in the absence of anything. Once printed, the stand can be broken and cleaned to give you the final design. In most cases, the support is automatically generated by the slicing software, which converts your STL file into a format that the 3D printer can read, called the G code.
Reduce the advantages of support
Although support is sometimes required, there are many advantages to designing that can be avoided altogether. Here are a few reasons why you should focus on reducing support:
Save time and money:
A large amount of support waste design is required because the bracket is removed and may be discarded once printing is complete. In addition, adding support means that the product prints longer, and we have seen support to increase print time by up to 100% in extreme cases. When you add the time required to clean up the support after printing, the difference in completion time can be large.
Reduce the possibility of printing errors:
Support increases the complexity of the design, increasing the likelihood of errors during printing. For longer, more complex prints, the support fails more frequently than a short print. Keep design simple to increase your chances of successful printing!
Create a smoother surface finish:
Using braces often creates a rougher surface and creates more work to smooth it out during post-processing. In some cases, when the stand is used, the surface may be damaged beyond the reasonable repair range.
If you can’t avoid using a stand but you can use a dual extrusion printer, we recommend using a soluble support material such as HIPS or PVA.
This is a good way to remember which shapes can be safely designed without support and which can be avoided. Thanks to one of our top designers for writing a more detailed article on support and YHT rules. The basic rules are as follows:
- Anything in the “Y” shape can be safely printed without support because it is a gradual bevel with enough material underneath it to prevent sagging. This is another way of thinking about the 45 degree rule, which states that, in general, overhangs with slopes greater than 45 degrees will require support. The angle is getting more and more, the better. This is why the cone is usually safe.
- A design in the form of “H” in which the intermediate overhang is connected to either side as a bridge. Typically, bridges less than 36 mm in length print with a sagging of 0–0.5 mm, a bridge length of 36 to 60 mm, a droop of 0.5–2 mm, a bridge length of more than 60 mm, and a significant sagging of 2–5 mm. However, these rules are not static, as it depends on your materials and print settings.
c) Anything with a “T” shape overhang has no support and will almost certainly produce errors in your prints. It is not enough to save material in this configuration.
Split the model into multiple parts
Another way to avoid support is to divide the model into sections so that they can all be laid flat. After printing the parts, they can be bonded with an adhesive such as cyanoacrylate (super glue) or solvent. This is especially useful for complex designs and larger prints.
Correct positioning of the model
Sometimes, simply rotate the design to the appropriate print orientation to reduce support. For example, in the case of the above “T” print, the need for the support can be completely removed by placing the support flat on its back. You don’t always need to make changes to the model to improve the results.
Anchor your prints
Anchor the design to more than 45 degrees and connect them to different parts of the model to avoid overhang. For example, in the first picture below, you can see the arm attached to the back. This is a great way to avoid overhanging, allowing you to print the design as a whole, while the model below straightens the arm, which can cause problems when printing.
2) Make sure your model is manifold
Sometimes when you design, there may be some small holes in your model. In short, if you fill your model with water, it will leak. When designing a model, things that seem to be connected are actually not connected or may overlap each other, which can cause problems in 3D printing. There are many free software on the market that allow you to check and fix errors and vulnerabilities in files.
3) Print by yourself!
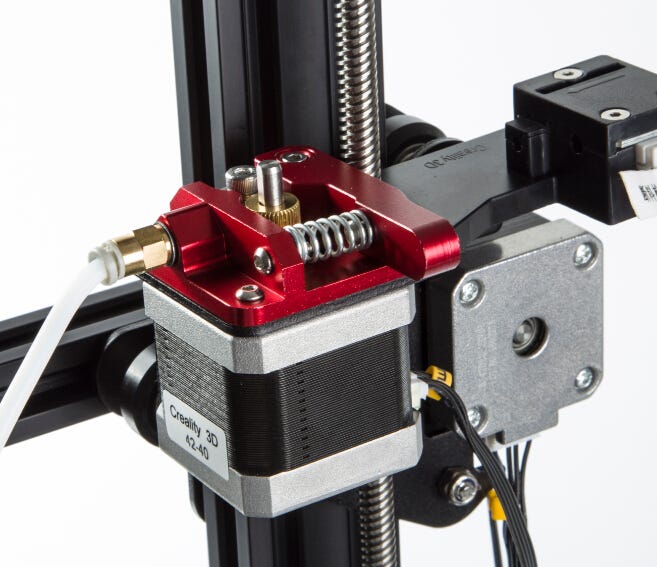
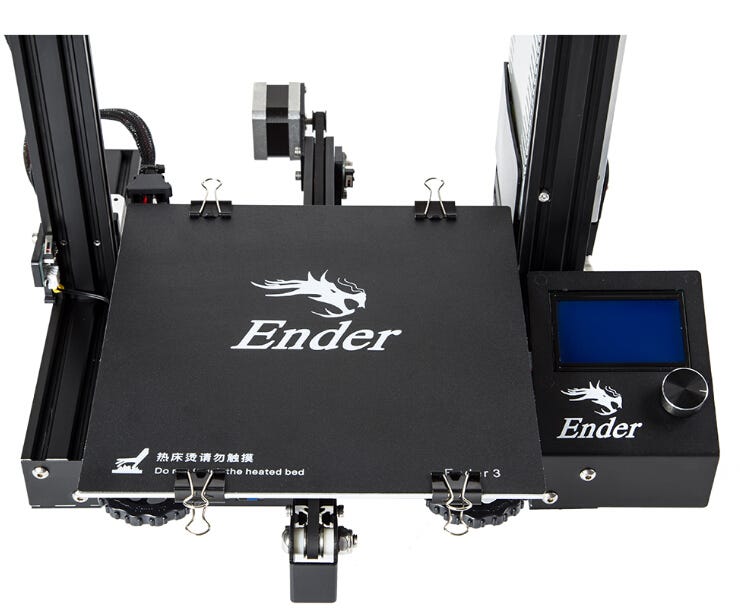
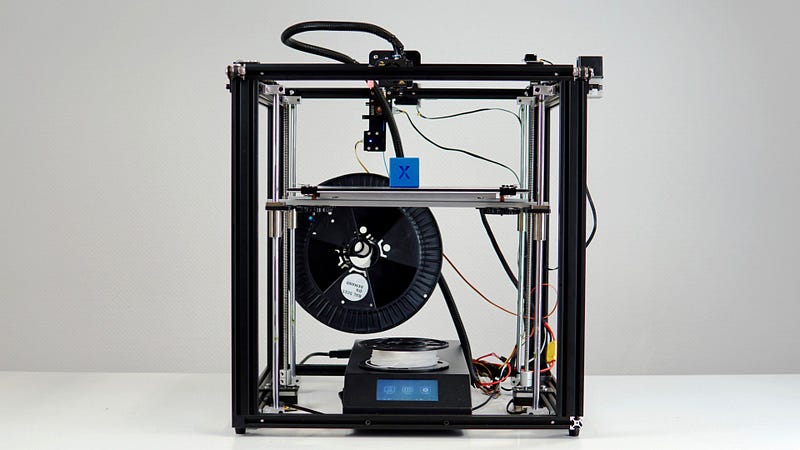
The best way to check if something can be 3D printed is to print it yourself. If you’re ready for 3D printing, Creality3D ender 3 is a very cost-effective desktop-class 3D printer that basically prints everything, of course, you can find models on the Internet if you have model files. File, then download and slice, and finally turn your model file into a real object through a 3D printer. Currently, Creality3D ender 3 attracts a lot of fans on google, youtube, and facebook. It is already a very popular 3D printer. People who like DIY will usually use ender 3 to print a lot of amazing models. In addition, many Mom and Dad choose to buy an ender 3 for their children as a gift of life or a reward for learning, because the ender 3 is a semi-assembled model, and it has a certain test of the child’s ability to work. Nowadays, most of the era of rapid development of technology The children are indulging in mobile phones and games. Why not give them a Creality3D ender 3 that can be created independently and DIY?
The best way to check if something can be 3D printed is to print it yourself. If you’re ready for 3D printing, Creality3D ender 3 is a very cost-effective desktop-class 3D printer that basically prints everything, of course, you can find models on the Internet if you have model files. File, then download and slice, and finally turn your model file into a real object through a 3D printer. Currently, Creality3D ender 3 attracts a lot of fans on google, youtube, and facebook. It is already a very popular 3D printer. People who like DIY will usually use ender 3 to print a lot of amazing models. In addition, many Mom and Dad choose to buy an ender 3 for their children as a gift of life or a reward for learning, because the ender 3 is a semi-assembled model, and it has a certain test of the child’s ability to work. Nowadays, most of the era of rapid development of technology The children are indulging in mobile phones and games. Why not give them a Creality3D ender 3 that can be created independently and DIY?
Your email address will not be published.Required fields are marked. *
Originally published at www.creality3donline.com.
没有评论:
发表评论