When we do 3D printing, we often say that the hot bed is leveled first. Many people don’t understand the concept of leveling. The usual way to level the hot bed is to place it on the nozzle tip and the build surface. The distance on the entire surface is the same.
Why is this important? Because the first layer in the build is the main support for the rest of the print. In order to obtain a strong base, the bed must be properly oriented to provide proper bonding and delivery of the printed material.

If the nozzle is too far from the bed, the filament will not stick to the bottom plate at all. Too close, the nozzle will exceed the layer height to prevent material from squeezing and sticking. Either way, the final print will not be satisfactory. The best point is when the nozzle allows some space but only a little pressure on the flowing filament to help it adhere to the build plate.
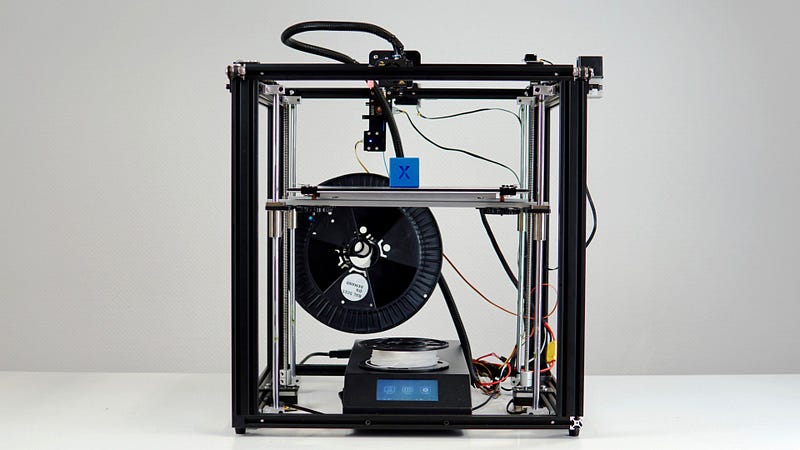
The Ender 3 does not have an automatic leveling function, so you must manually level the bed. Fortunately, this is not too difficult and there are some printer features to help. The menu provides the ability to prepare the equipment for leveling, and the four large knobs under each corner of the bed make work easier.
You will find that once it is flat, the bed will stay for a while. It may be necessary to re-level regularly, but once you learn the process, it should take less than five minutes for each re-adjustment.

Before you start leveling the bed of Ender 3, you should do some preparatory work:
- Make sure the bottom plate is clean. On the Ender 3, you can remove the backplane and clean it.
- Remove any sticking to the surface. Use a spatula to break loose material if needed.
- Wash the bottom with warm so apy water and dry with a clean cloth. Make sure no lint or granules are left behind.
- Use a clip to reconnect the build plate to the heated bed. Double check to make sure the entire board is flat and there are no defects or highs.
- Make sure the nozzle is clean and free of material. It should not have any plastic protruding from the tip. A simple method is to heat the nozzle to the last used temperature and then gently wipe the tip with a soft cloth. If you do this, wear gloves to avoid touching the hot nozzle with your fingers.
- Please note that it is not necessary to pre-heat the bed or nozzle for bed leveling.
In order to prepare the level, you must position the nozzle and bed. The Ender 3 control system makes these operations simple.
Turn on the machine.
Press the control knob and scroll to the PREPARE menu.
Scroll down to AUTO HOME and press the knob. The hot end will move to the left front of the bed and stop.
Go to PREPARE again.
Turn on the machine.
Press the control knob and scroll to the PREPARE menu.
Scroll down to AUTO HOME and press the knob. The hot end will move to the left front of the bed and stop.
Go to PREPARE again.

Scroll to DISABLE STEPPERS and press the control. This makes it easy to move the bed back and forth.
- Next, each of the four leveling wheels is rotated counterclockwise to lower the bed. One or two rounds at a time is enough. The purpose of this is to ensure that the bed is below the tip of the nozzle.
- The only tool needed to level the bed is a piece of paper. Once the equipment is complete, you can start:
- Move the nozzle so that it is in the left corner of the bed. A half inch from the sides is a good location.
- Slide the paper between the nozzle and the bed. If it is not suitable, please put it in the corner.
- Once the paper is able to slide under the nozzle, use the adjuster to lift the corner very slowly. Remember: move the bed clockwise. When you do this, gently slide the paper back and forth. When you feel the slightest resistance to moving paper, stop turning the knob. That corner (almost) is ready.
- Do the same for the other three corners of the build board. Always push the hot end to a new corner. This will prevent damage to the build plate when the nozzle starts dragging. If this happens, just lower the next corner (before starting the leveling process) to make room.
- After you adjust each corner once, go back and check the four corners again. You may need to make further adjustments to make all four correct.
- Finally, you can plug in the SD card, import the model file, and start your 3D printing process!
Originally published at www.creality3donline.com.


没有评论:
发表评论